Isla Trench Coat: Named Patterns
UFOs; Unfinished Objects
These two trench coats that I was planning on making for my friends were planned and cut out 2 years ago! How on earth did these get past the planning stage and then sit for so long you ask? Well the week after I cut them out I got engaged. And the next year was devoted to my wedding dress. After the wedding these had been packed so far down in my studio closet that I completely forgot about them. They were each packed away perfectly in a bag with all the pieces, the carefully sized and prepared patterns I had used, buttons, matching thread, all together.
This fall after a lovely and rejuvenating trip I took everything out of the closet for a clean-out. There they were. Ready to go. So I added them to my list of Christmas presents to make.
The Pattern
Over all I found the pattern to be really nice to work with, though as with all of Named’s patterns the block they based it on seems to be for a rather tall, slim figure. I did need to make some alterations when I traced the pattern for each of my friends, shortening for both and grading sizes to fit their individual shapes. Nothing too difficult or drastic, just necessary for fit.
I found the instructions with the pattern to be clear. I did get a little hung up on the lining at the back vent. If you go slowly and CAREFULLY read all of the instructions it can be done without a problem, as I managed on one of the coats. I won’t say which one as I managed to fix my issues with the other and I hope the recipient hasn’t noticed.
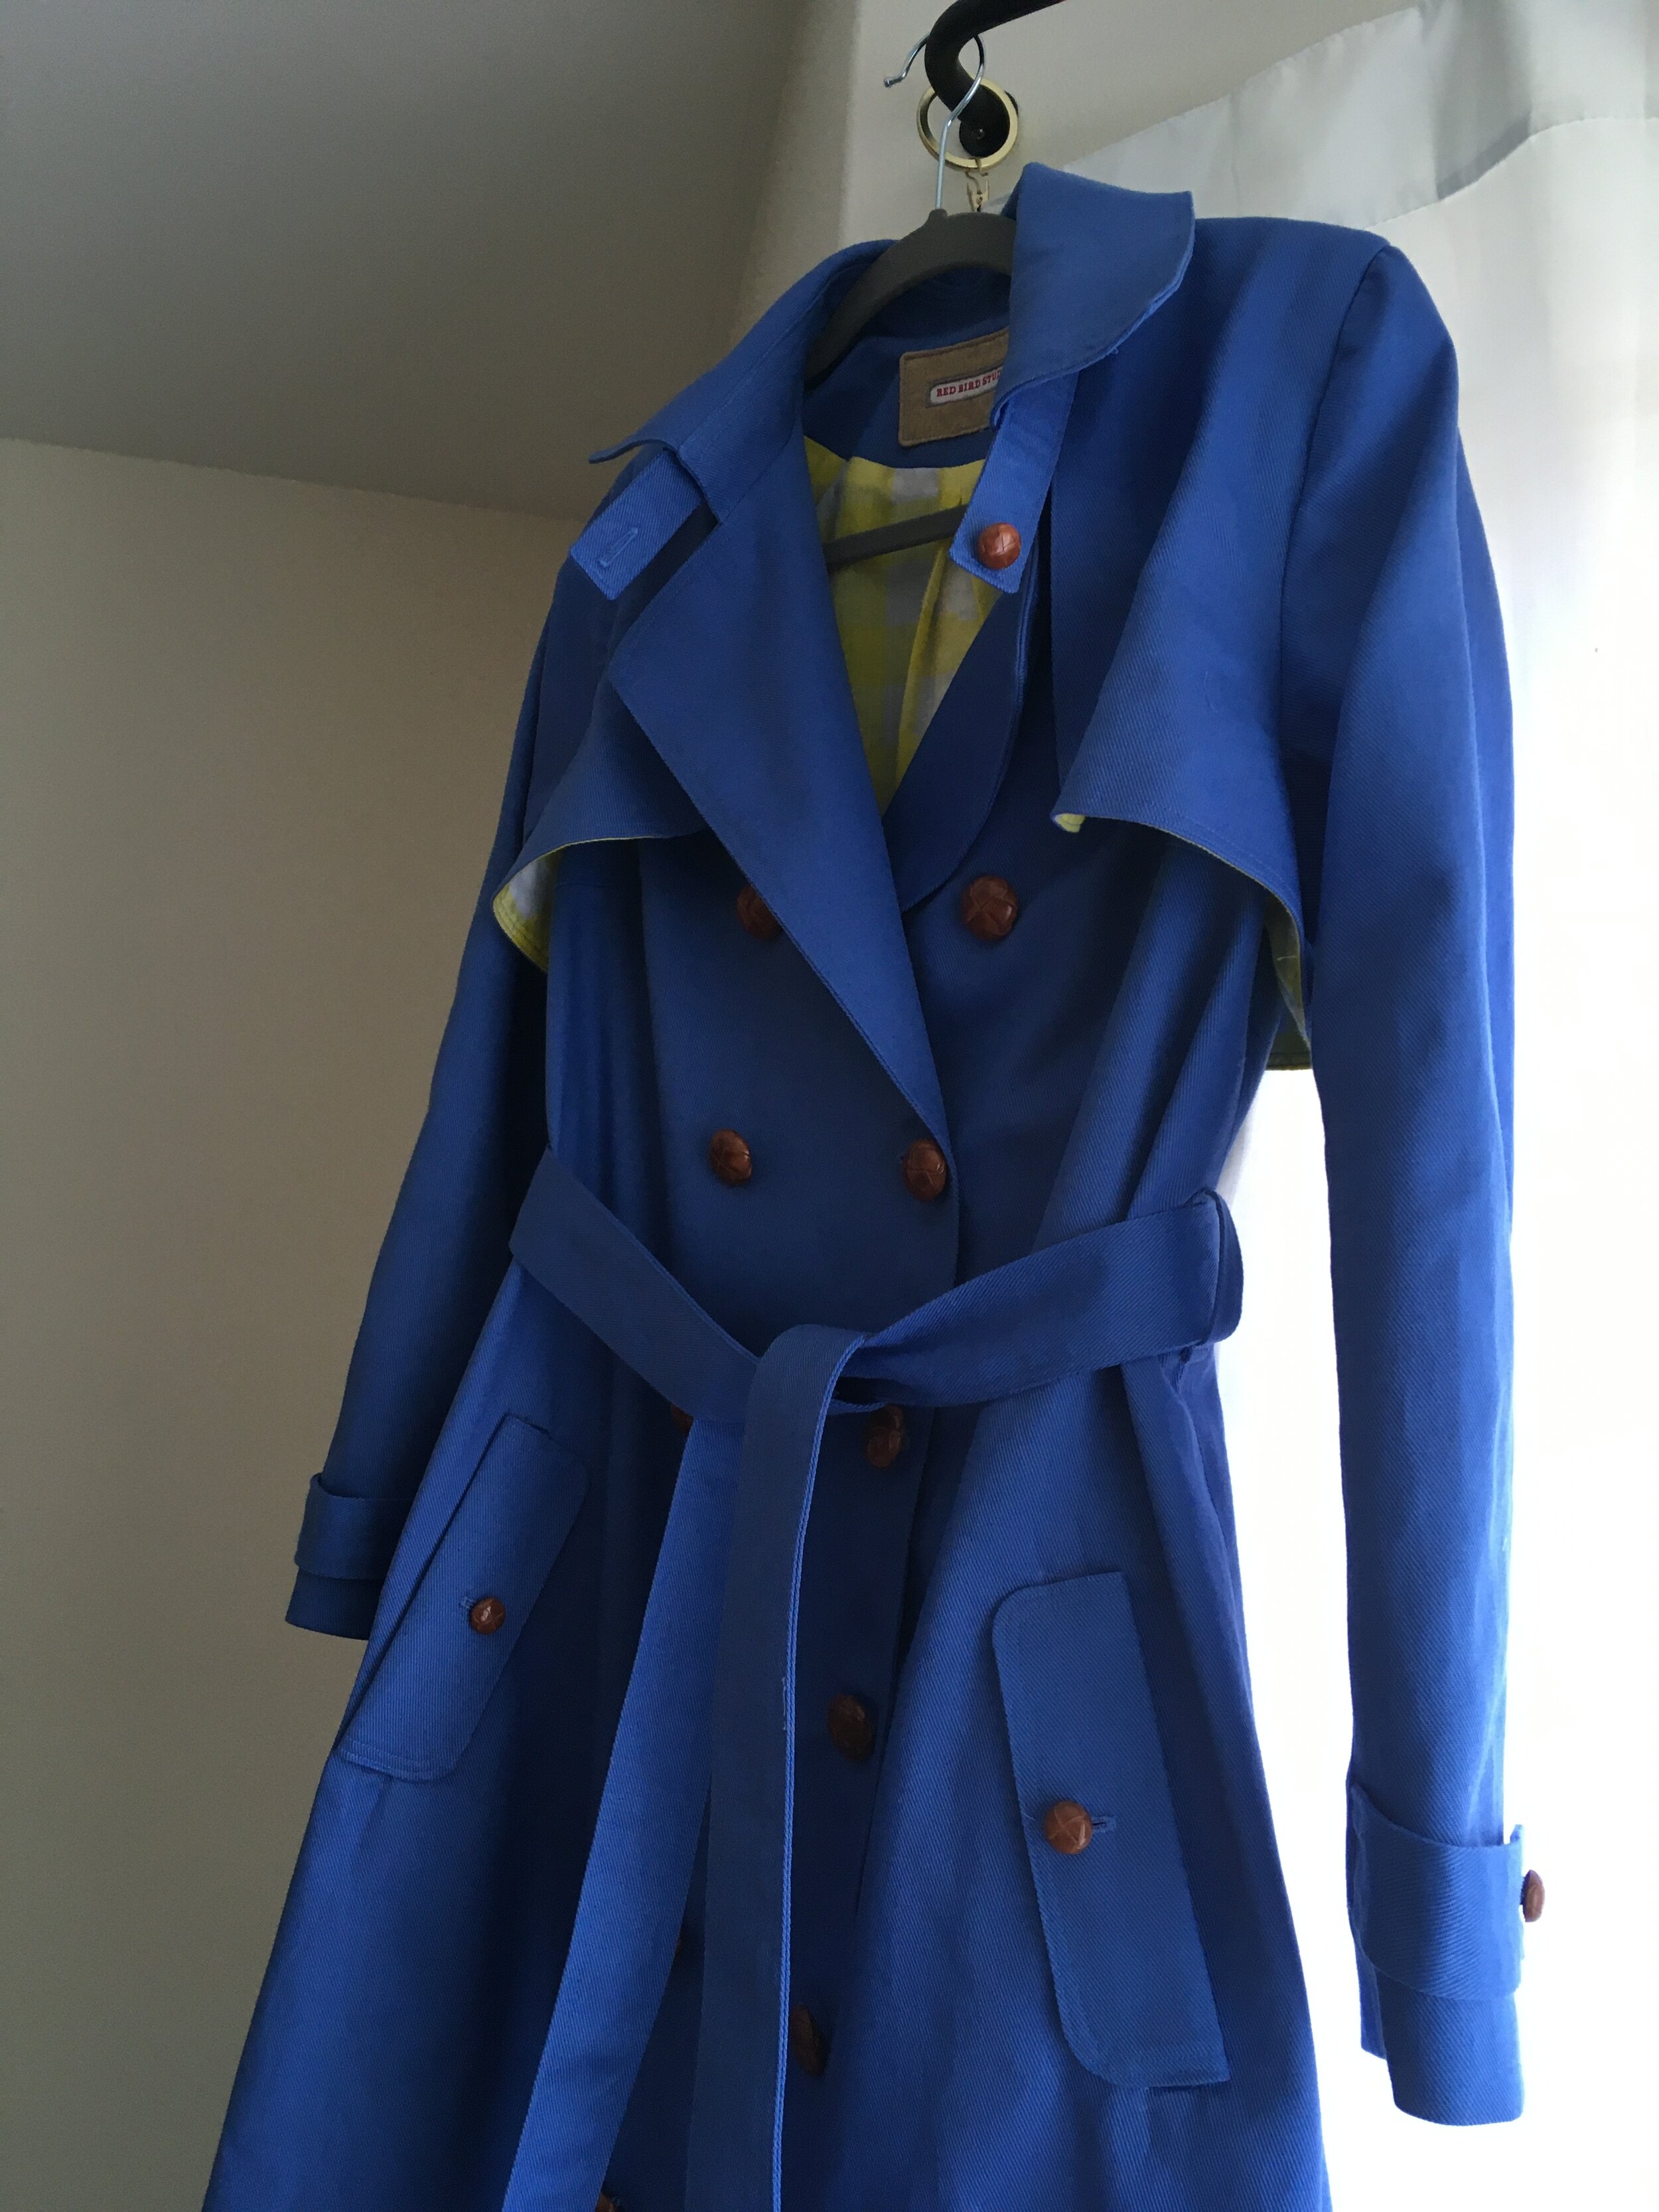
I think what I love most about this pattern is all of the classic details. There is the capelet, which is necessary for any real trench; the button collar belt, which I’m betting will never actually be used but that I love; wrist bands; and I added buttons to the fold-over pocket welts.
So one of the things I love about sewing clothes are the buttons. I love buttons. There is a huge glass jar of vintage button on my shelf. Neither of these sets happens to be vintage, but I shopped around a lot to find just the right ones for each coat.
When I started this project 2 years ago I asked my friends what their ideal coat color would be so they each chose their own outer color, but I chose the linings and buttons to match.
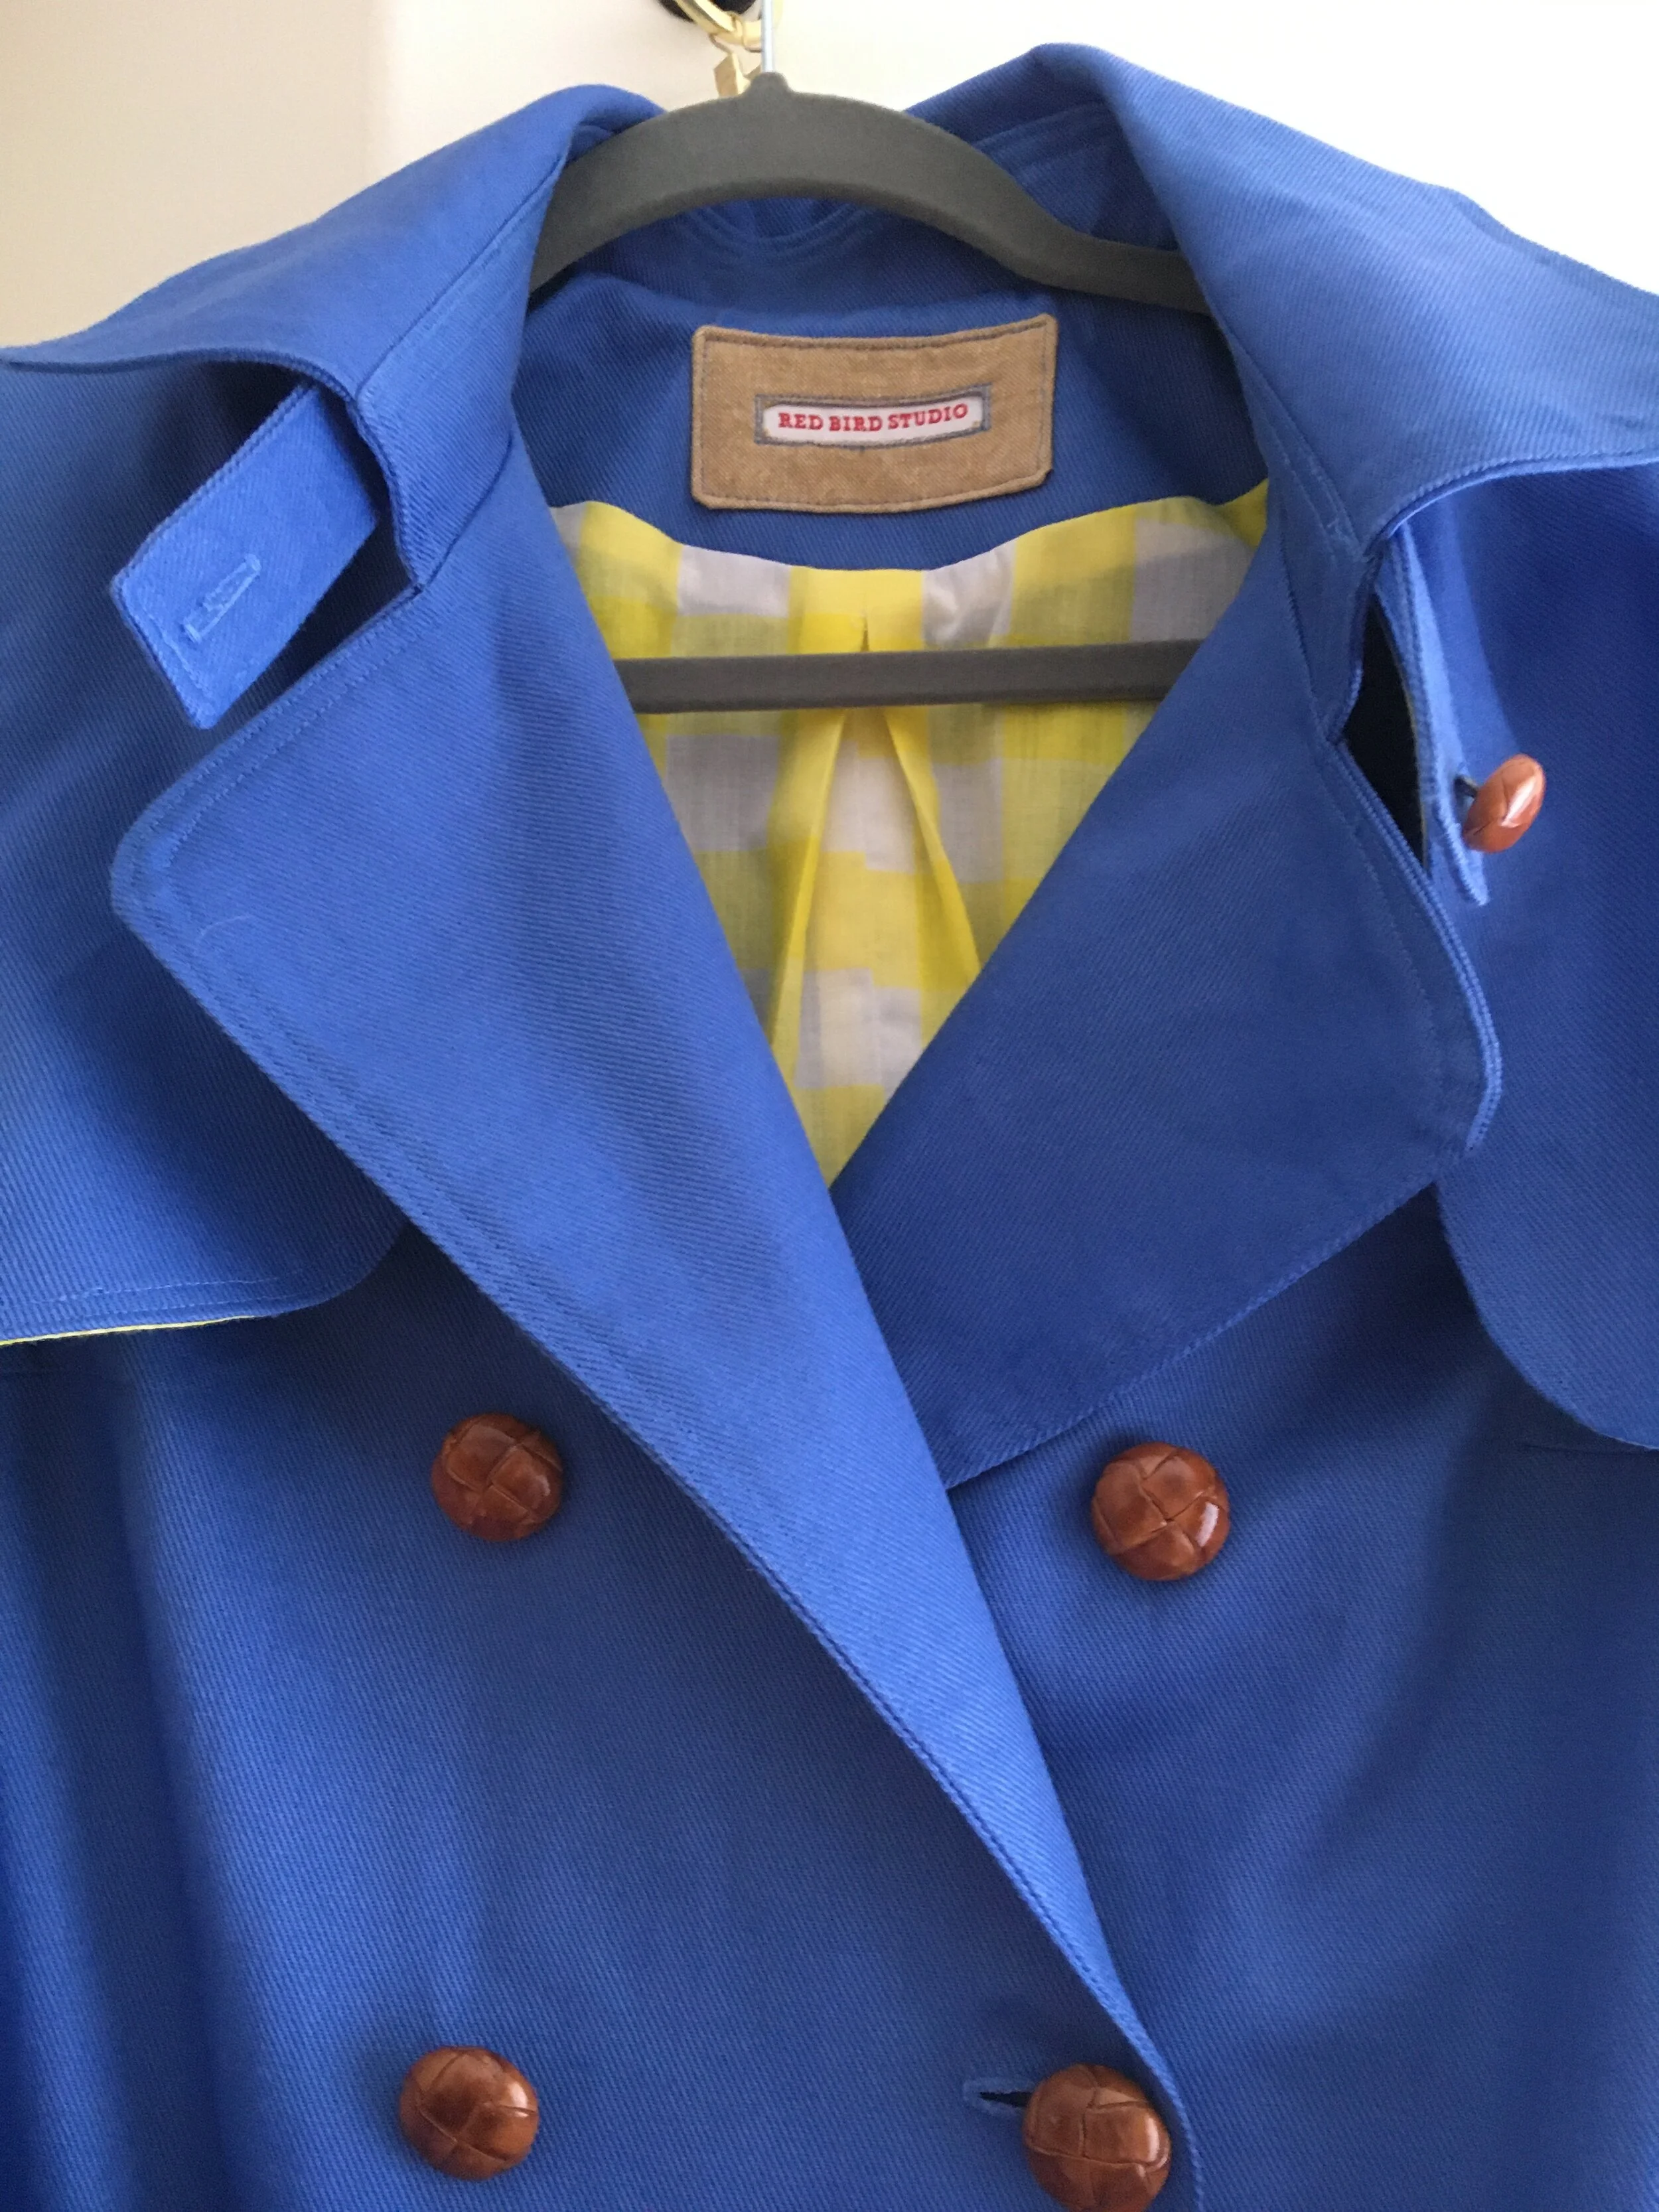
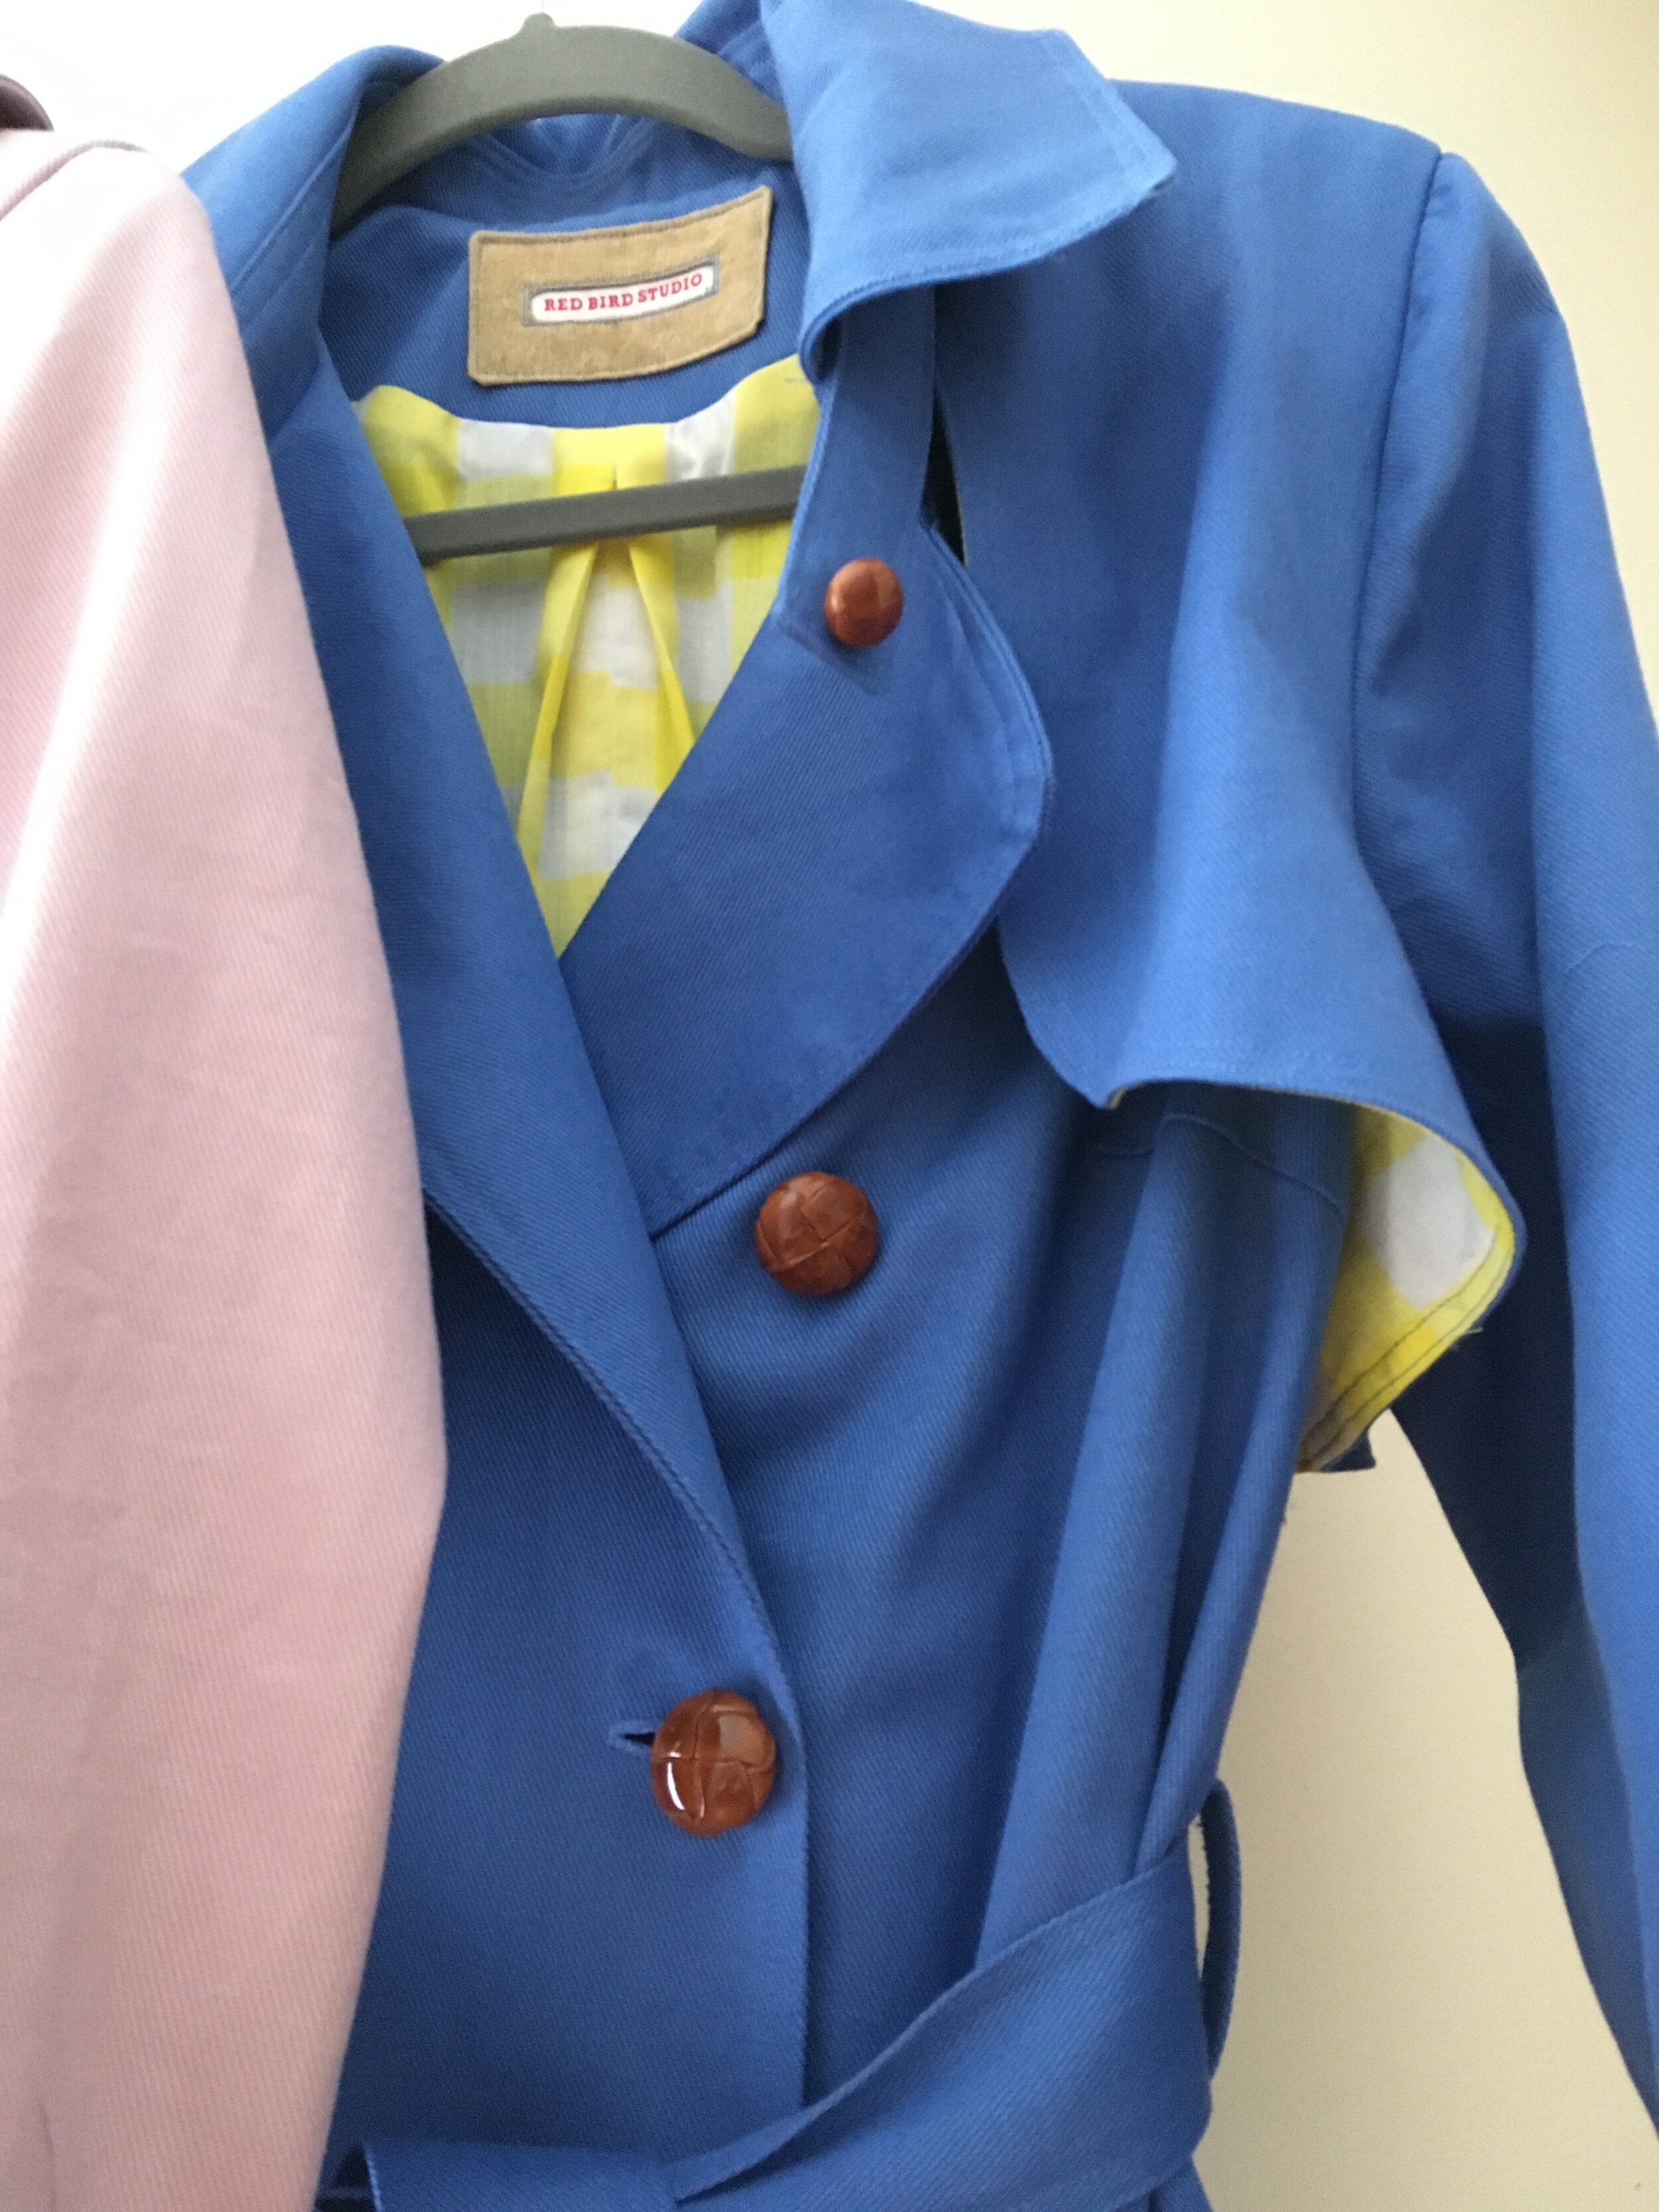
For the bright cornflower blue coat, chosen by @vxbluefish I went with a 1” yellow gingham check. I wanted something classic with a twist. I chose the yellow to add a pop of happiness every time she puts the coat on. In keeping with that classic look I found classic leather buttons in a nice saddle color.
The delicate mauve coat for @lilredsquirrel had me stumped on the proper lining. I had a sample of these ivory and black cracked buttons from Mood Fabrics, and knew they were just the right thing. But for the lining I just couldn’t find the right thing. I wanted something that would be a simple black and white pattern since I didn’t want to overwhelm the light color of the outer fabric. I ended up stealing the bird fabric from my own stash where it had originally been intended for a blousy button up.
I will say the one thing about leaving these coats alone for two years, is I would have made different choices on the lining fabric now. I feel like my choices look great, but aren’t slick enough to make it easy to take the coats on and off. It’s amazing what a couple of years will teach you about fabric types and how to choose the best option.


