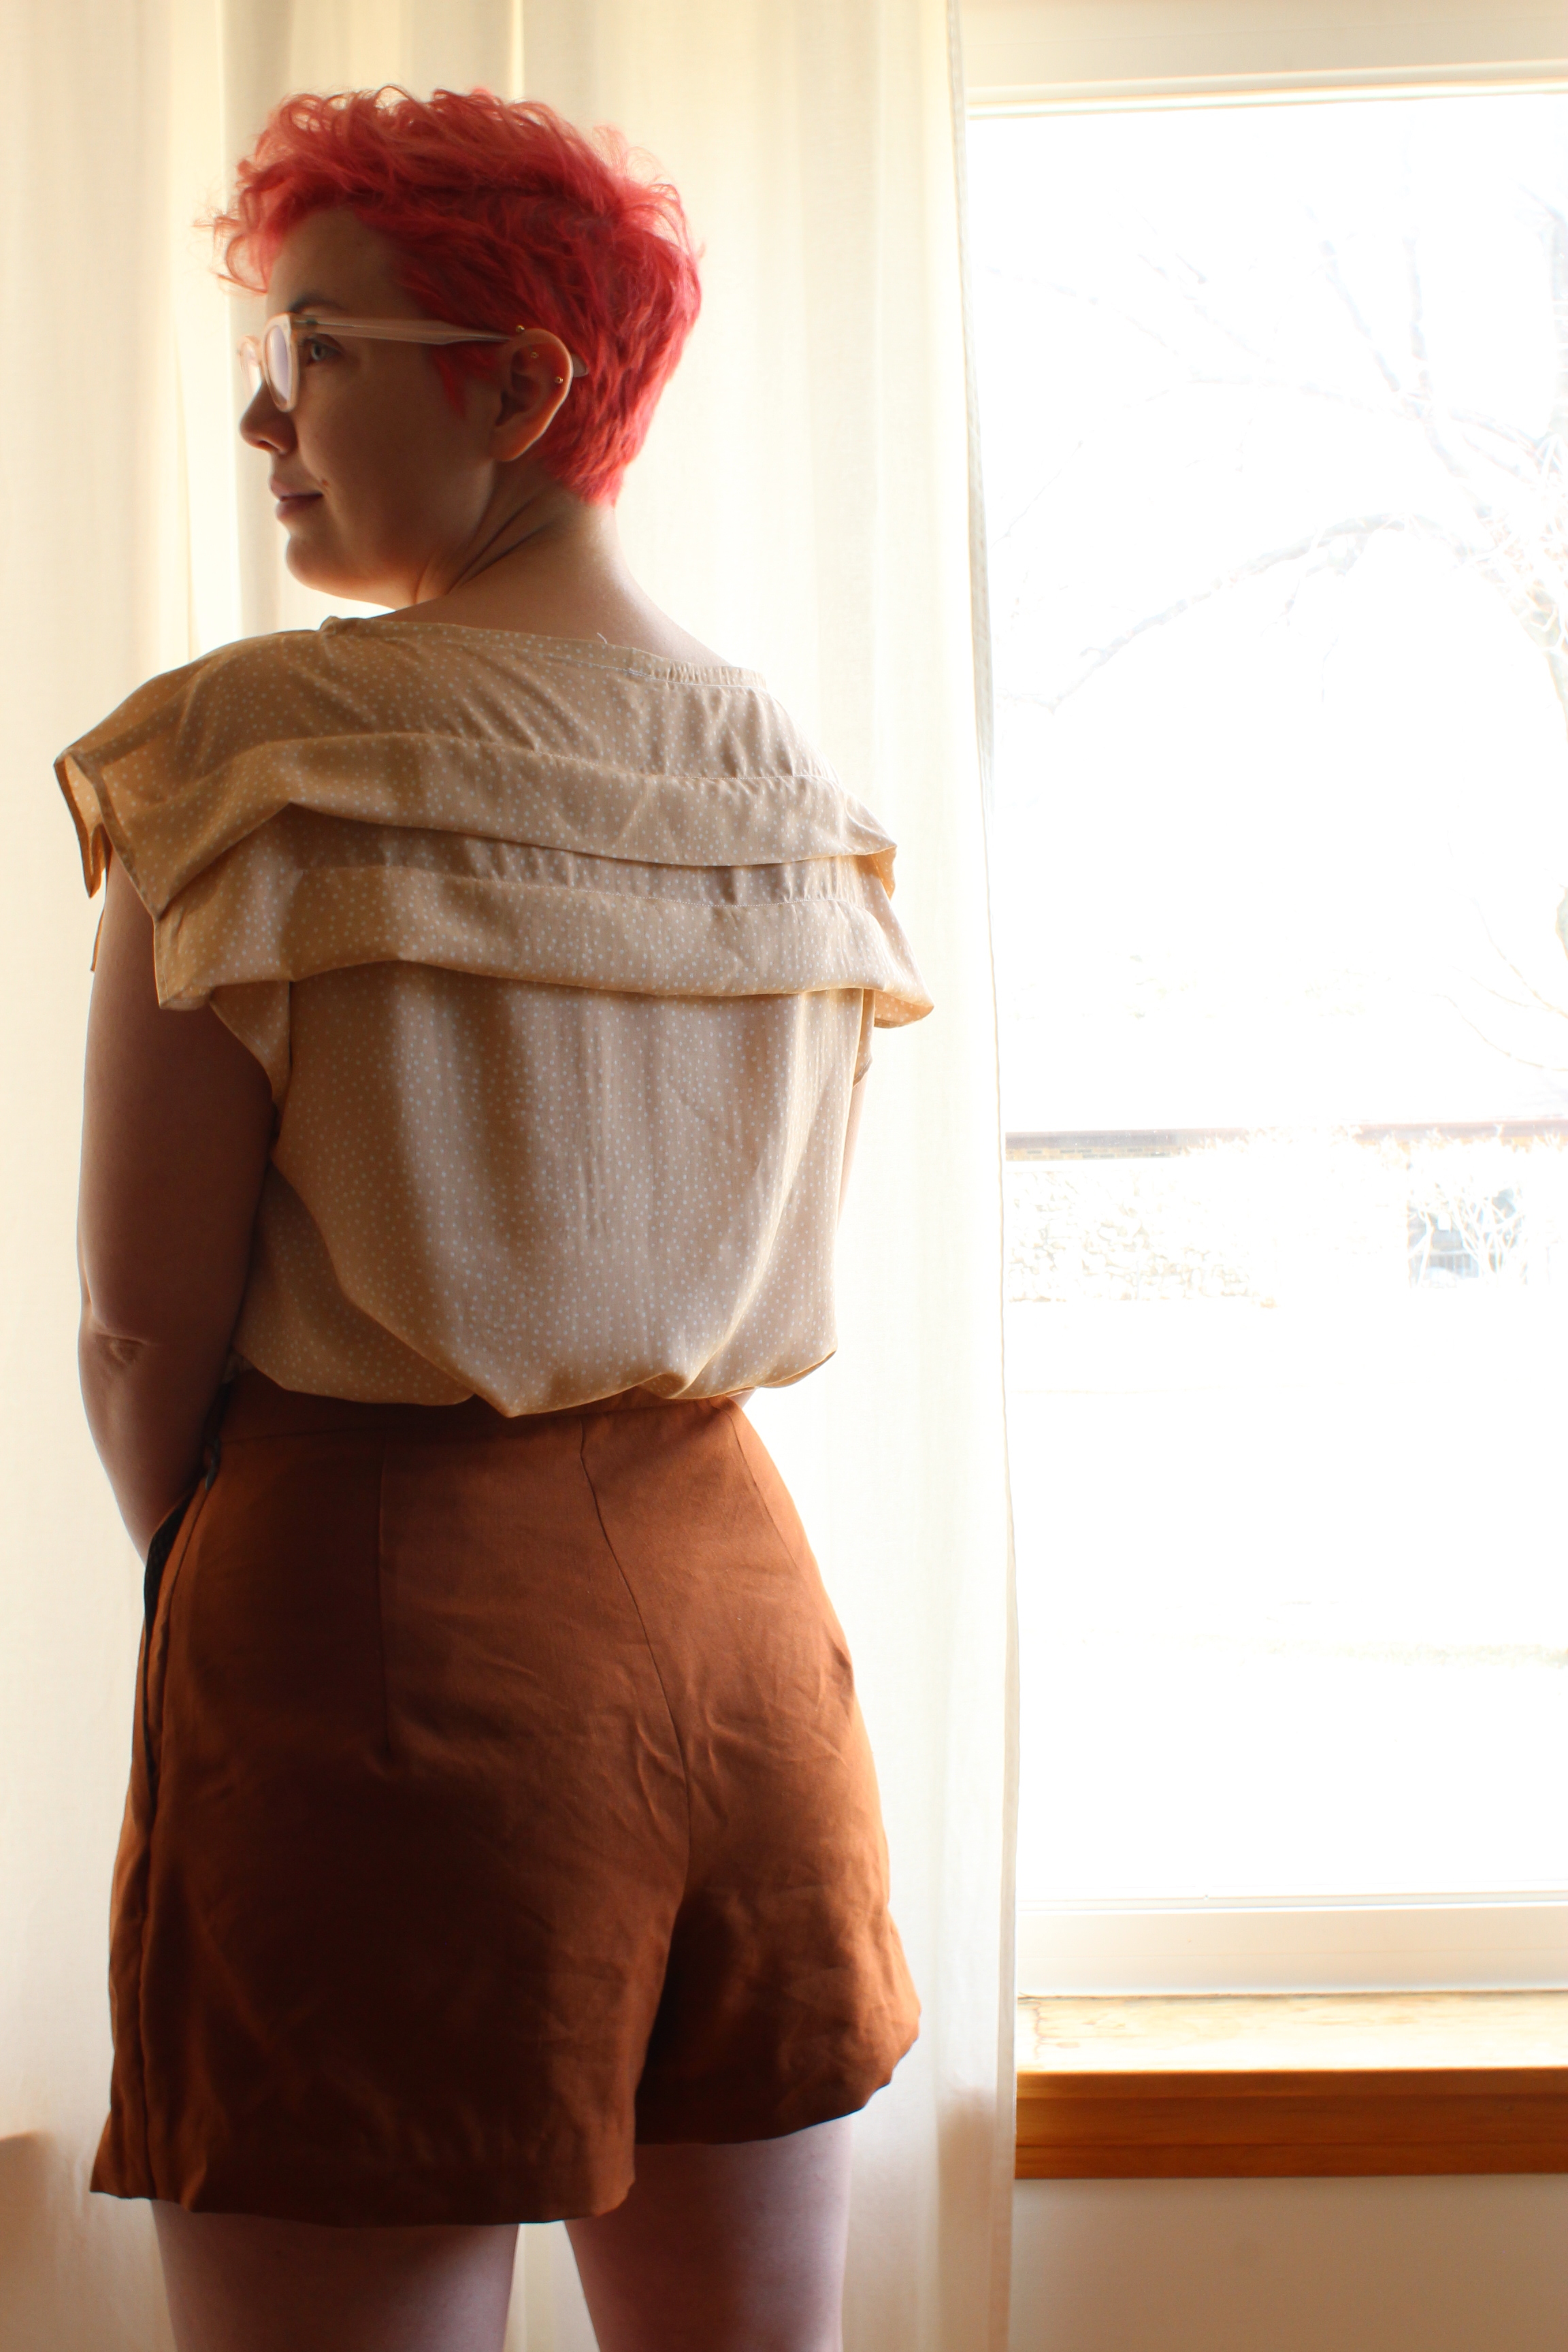
Burda Style Shorts 129 02/2013 & Top 115 06/2014
I managed to finish up two pieces for my capsule collection this week. And I am in love with them as an outfit, but let’s start with the top.
Burda 115 from June 2014, or as I call it The Roman Blouse.
My walking foot and a test seam on scraps
Why the Roman blouse? Because it reminds me of roman shades with its pleated top. I have had this pattern saved in the back of my mind for a few years now, but I knew it would need a really beautiful lightweight fabric and I’ve never had much luck with that on my machine. I have however fixed that problem by finally purchasing a walking foot, and oh boy is it a game changer. No rippling or pulling as I try to get those slippery layers sewn together.
I purchased this beautiful french vanilla, dotted rayon challis from Blackbird Fabrics, and it feels like butter against the skin. It is the perfect light-weight material with fantastic drape that I needed for the pattern.
The pattern itself could not be simpler, it is basically a rectangle with a bit of shaping for the front and the back. There is nothing difficult about the pattern, it is the perfect summer piece that looks high-end without being fussy to create. The pieces are simply folded and sewn across to create a blouse that can easily go from day to night.
I made a bit of bias tape for the neckline out of the same material. I had plenty leftover since I purchased more than the pattern specified, as I was worried about ruining it with my first time working with the walking foot. I altered the pattern by grading from a M at the top to a large at the hips, and I gave myself just a bit more clearance at the hips by adding a little split seam detail.
I am really pleased with how this turned out and I can’t wait to wear it. I would definitely recommend this pattern as a perfect classic top, especially as it can be made in a day.
Burda Shorts 129 from February 2013.
These are my first pair of shorts, luckily after fitting a couple of pairs of pants over the past few weeks these were a bit of a doddle. I started off as I do with all pants grading from my waist measurements out to my hips about two sizes up, and adding about an inch to the rear crotch curve/inner thigh to accommodate my rump. My toile only needed a quick tweak to the seat to add about a 1/4 inch to the fullest part of my rear. This creates a pattern piece that looks a bit wonky, in at the waist curving out along the rear crotch curve and then back in and down into the J curve at the bottom.
I also added an extra inch to the size of the self-drafted waist band, so I could incorporate an underlap and use a sturdier hook and bar instead of hook and eye closure.
As with most Burda patterns, I think these require someone with some previous experience to put together. You have to draft the waistband yourself, and it does not give instructions on how to add a turn-up for the hem on the legs of the shorts. This is necessary for a nice finish, so it is important to have some experience with pattern construction.
And I want to finish this up with some notes on my construction of these shorts. I worked with a linen rayon blend from Mood Fabrics, and isn’t that tobacco brown just divine? I love working with linen and I am not bothered by its wrinkly nature. But the one downside of this fabric is that it does fray, and every bit of handling makes it worse. So, I decided to make my own bias binding from a handloom cotton gingham in my stash. (You have seen it before as my binding on the Elaine pants.) And now I not only have no concerns about my seams wearing well, but the inside of my shorts are as beautiful as the outside. I don’t really care that no one else will ever see it, knowing it is pretty makes me feel good in my soul.


